Showing posts with label crafts. Show all posts

Monday, January 6, 2014

New Years Eve 2014

For the last three years that we have been in our apartment, we've had a few friends over for New Years. Our apartment is perfect for New Years thanks to our roof deck which provides a 360 degree view of all of the fireworks in the city. It's absolutely breathtaking! Things tend to get pretty crazy (hey, we're a fun bunch!) but I also like to class it up a bit with a few decorations. Luckily Christmas decorations already make the space feel pretty festive, but I always add one or two things to spruce it up for New Years. 

DIY New Years Eve table decorations | Choosing Happy Blog
NYE Table Set-up

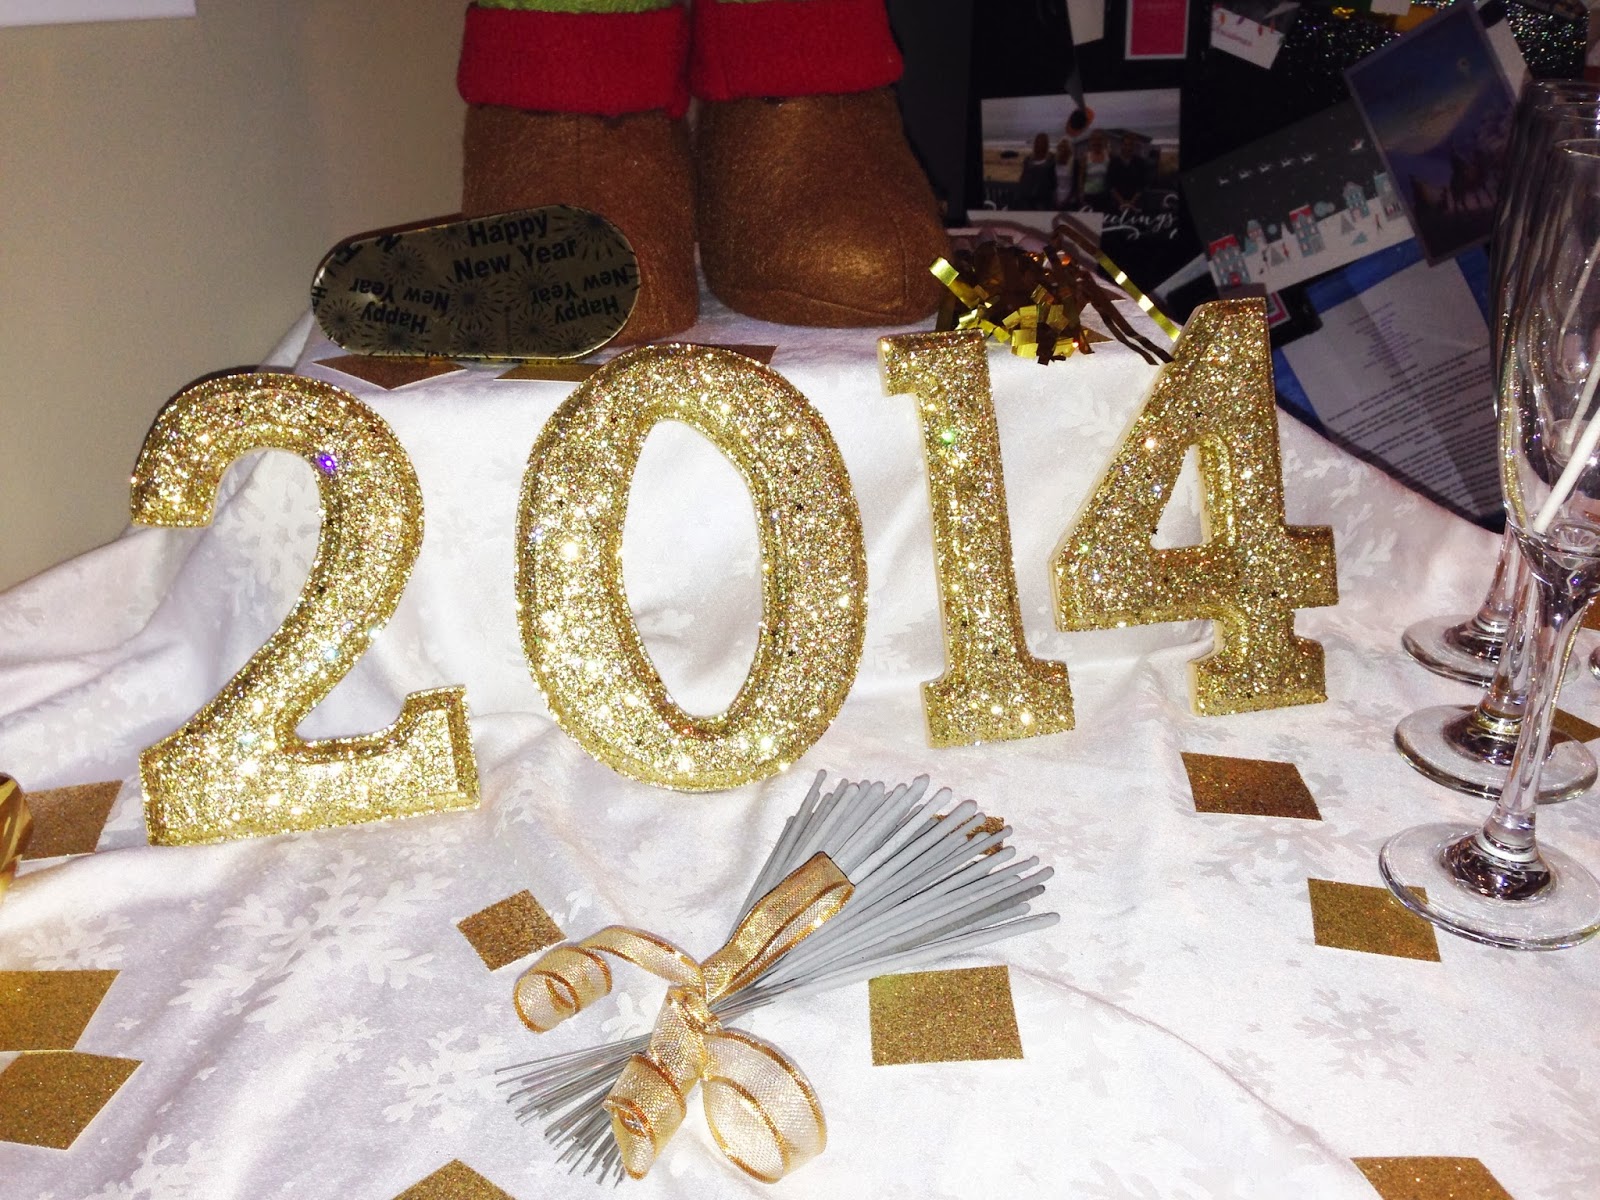
Last year I had made gold glittery numbers for the date and luckily had the foresight to make a 4 for this year as well! Bravo last year me! I decided to build off of that, using gold glitter as my theme. I was really pleased with the result. AC Moore craft store is seriously my happy place, and I found so many fun things there. 

I'm loving the striped paper straws that are EVERYWHERE on Pinterest and was so happy to find them in gold. I had saved some hats and noise makers from previous years and separated the gold ones out for a table display. Also included: 2014 Sign, Glitter Banner Stirrers, Champagne Cupcakes, Glitter Photo Backdrop.

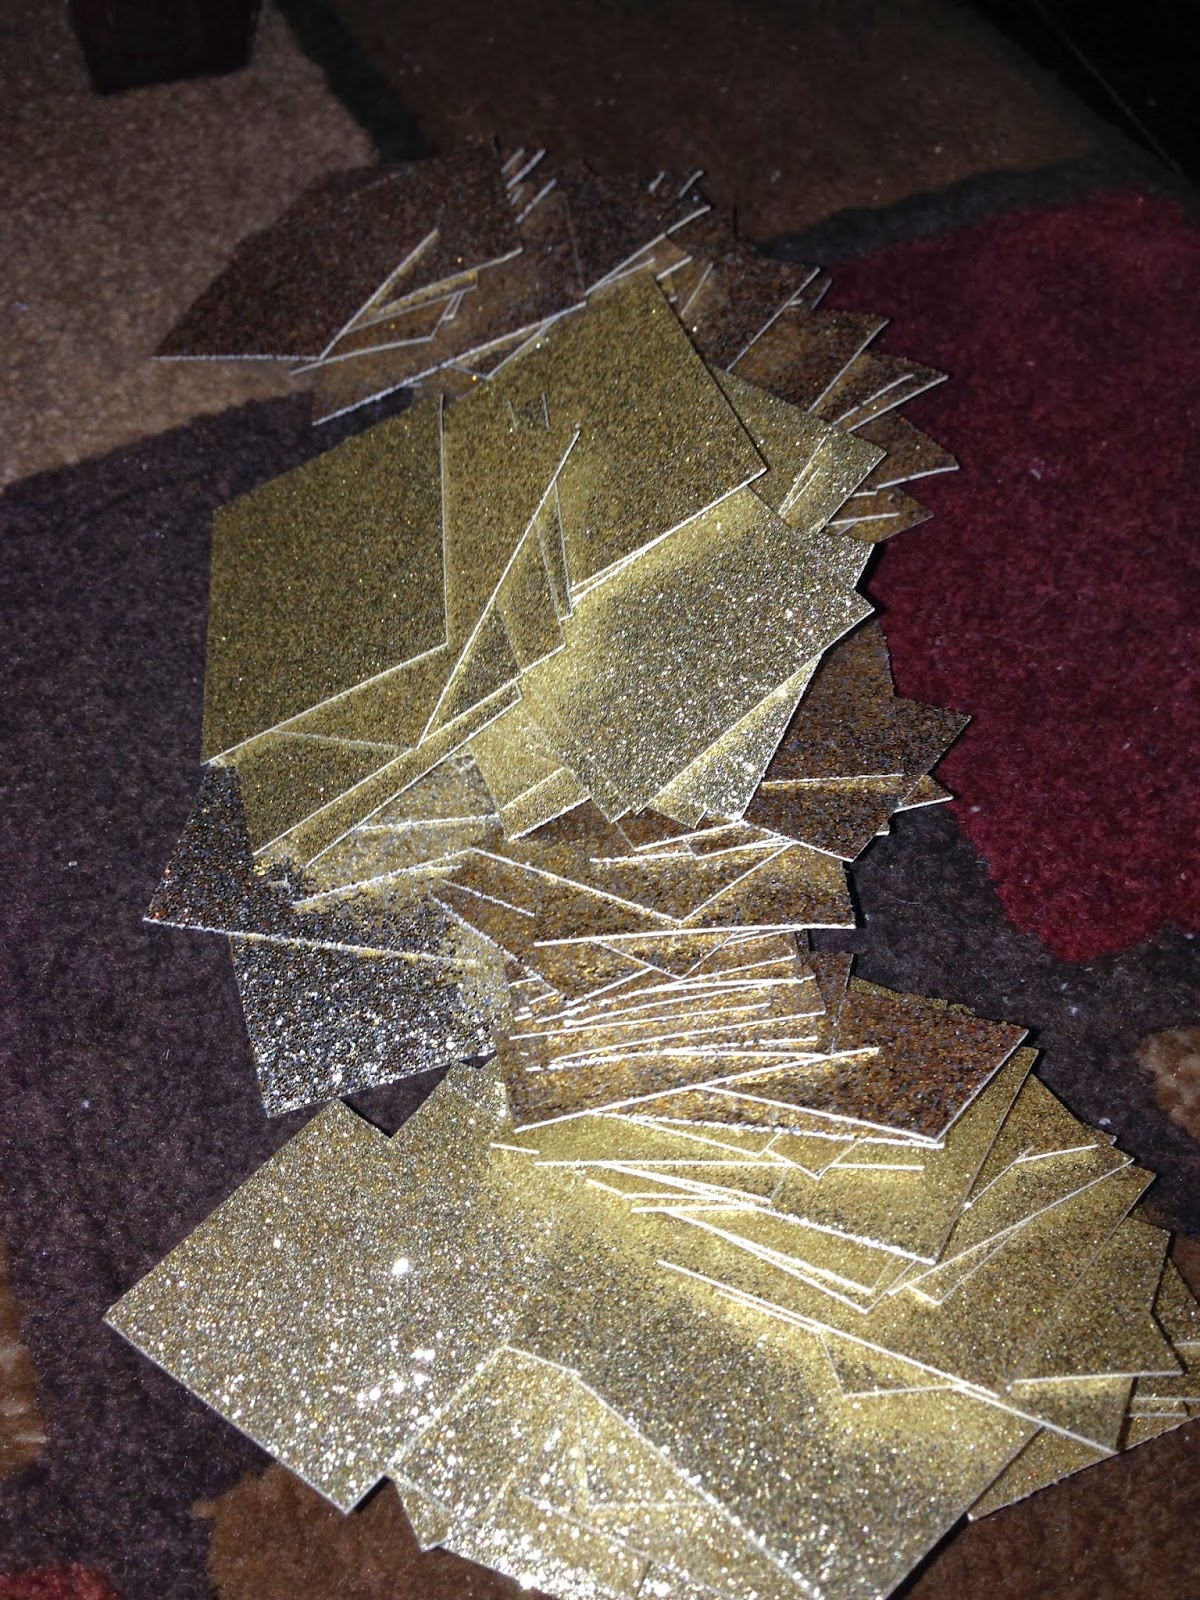
I had some leftover glitter scrapbook paper from making the Glitter Photo Backdrop so I just scattered a few pieces over the table.


DIY New Years Eve table decorations | Choosing Happy Blog

To keep the sparklers together before midnight I tied them with a gold ribbon.

Champagne Cupcakes with Champagne Buttercream | Choosing Happy Blog

These cupcakes were AMAZING! I displayed them on the Charlotte cake pedestal from Crate and Barrel to add some height to the display. Recipe is below. 

Glitter banner drink stirrers for New Years Eve | Choosing Happy Blog

Not particularly functional drink stirrers but so darn cute!

DIY New Years Eve table decorations | Choosing Happy Blog

DIY New Years Eve table decorations | Choosing Happy Blog
Even my Christmas decorations were feeling festive :-)


 Champagne Cupcakes
First things first, the cupcakes! They were so fluffy and amazing. I used gold star glitter (edible on top), and gold foil cupcake wrappers. 


Champagne cupcakes with champagne buttercream | Choosing Happy blog

I typically don't like using cake mix for cupcakes since you don't know what's in it, however, sometimes you just have to. Next time I do these I'll probably try to alter this recipe so it's a bit more 'whole food friendly'.

Champagne Cupcakes with Champagne Buttercream | Choosing Happy Blog

For the Champagne Cupcakes, you will need:
  • 1 box white cake mix
  • 1 1/4 cups champagne (use a bit more if the batter seems to dry)
  • 3 egg whites
  • 1/3 cup vegetable oil
Heat oven to 350. Place foil baking cups in 24 regular-size muffin cups. 

Mix dry cake mix and champagne in mixer. Add oil and egg whites. Mix on medium speed until batter is smooth. Fill muffin cups 2/3 full. Side note: For me this recipe yielded less then 24 cupcakes because I prefer my cupcakes to be a bit more full over the top of the foil.

Bake 20-22 minutes. Allow the cupcakes to cool completely before frosting.

Champagne Cupcakes with Champagne Buttercream | Choosing Happy Blog

For the Champagne Frosting, you will need:

  • 1/2 cup room temperature butter
  • 4 cups powdered sugar
  • 2/3 cup champagne
  • 1 teaspoon vanilla

Mix room temperature butter, champagne and vanilla in mixer at low speed. Sift powdered sugar into mixer cup by cup allowing to mix thoroughly in between.

Transfer frosting to frosting bag with desired frosting tip and pipe icing onto the cupcakes. Top with desired garnish.


Champagne Cupcakes with Champagne Buttercream | Choosing Happy Blog

Note: this is a take on this recipe from Betty Crocker. Pink Champagne cupcakes!

Glitter Banner Drink Stirrers
I like to set up champagne glasses for each of the guests with some kind of fun decoration. For 2013 I use gold and silver pipe cleaners to make 'firework' drink stirrers. They were cute, but I much preferred the banner style from this year. 


DIY 'Firework' drink stirrers for New Years Eve | Choosing Happy Blog
NYE 2013
DIY Glitter banner drink stirrers for New Years Eve | Choosing Happy Blog

I LOVE this glitter tape! It's very easy to use and so pretty. I actually couldn't find a belt for my outfit so ended up making one with this tape! I just measured the size and then used a glue gun to attach it. It was a one time use belt since I had to cut it off at the end of the night, but it worked!

DIY Gold Glitter belt using craft tape | Choosing Happy Blog
Who would have guessed it was crafters tape!

DIY Glitter banner drink stirrers for New Years Eve | Choosing Happy Blog

For the stirrers, I used lollipop sticks and wrapped the glitter tape around the top cutting the tip to look like a banner. Super easy!

DIY Glitter banner drink stirrers for New Years Eve | Choosing Happy Blog

If I made these again I wouldn't use lollipop sticks since they are made of paper and tended to unravel and get soggy if you actually kept it in your drink for a long period of time. Plastic sticks would have worked much better. But they were definitely cute!


Glitter Photo Backdrop
Ok. Let me start by saying, this DIY project is a HEADACHE. I hate to admit that the payoff wasn't even worth the hassle which is the worst kind of project. If I had stayed truer to my original vision I think this would have worked out better. So here are a few lessons learned on this one:
  • Use double-sided paper. Once I set up the backdrop the glitter paper would spin and the backside was white - not so cute. I ended up taping it to the wall. Such a pain.
  • Make circles, not squares. I tried to make circles and even bought a special paper punch to make large circles, but it was an epic fail. Since I had to cut them all out by hand there was no way I was going to make circles. Even so - squares took forever.
  • Don't use 'Dandyline'. This stuff is pretty cool and I will be able to use it for other tasks, but it was just too thin for this project. Next time I would get a neutral color, broader ribbon or something and use my sewing machine to attach the paper to the string. More secure, quicker, easier.
  • Make the backdrop wider and longer then seems necessary. For the full effect you want to make sure the backdrop shows up no matter how you set up the camera. I didn't do that. Fail again.
That all being said, here is what I did. I cut the glitter scrapbook paper (about 12 sheets) into varying size squares. I did not worry about size consistency at all.

DIY Glitter photo back drop New Years Eve | Choosing Happy Blog

DIY Glitter photo back drop New Years Eve | Choosing Happy Blog

Then I laid out the squares the way that I wanted them on the floor face down, placed lines of the Dandyline on the back of the square and taped them in place. THIS part worked fine. I used an entire roll of tape. Craziness.

DIY Glitter photo back drop New Years Eve | Choosing Happy Blog

DIY Glitter photo back drop New Years Eve | Choosing Happy Blog

I originally tried to use command hooks and the 'Dandyline' to attach the backdrop to the wall, but that is where I discovered the line was too thin. I ended up having to use way too much double-sided tape to get it to stick. 

My husband was kind enough to be my test subject for the photo backdrop, but since he had just come back from the gym he didn't want me to post the picture. I thought he looked cute, but why rock the boat ;-)


The party was fantastic. It's always so much fun to ring in the New Year with friends and family and I am really going to miss this apartment once we buy a house. We're hoping one of our friends decides to take it when we leave so that we can still have New Years here. A girl can dream!

Hope your New Years was fantastic!

xo
Alison

Friday, December 6, 2013

Our First Christmas

Hi everyone!

This is Kyle and my first Christmas as a married couple and we could not be more excited. We get super into Christmas, and would decorate right after Halloween if it was more socially acceptable. This year, we're making a point to start our family traditions. Just little things that we want to keep up as we grow our family. For instance:
  • Christmas morning at our own house: We tend to spend Christmas between our two parents house, but this year we are going make a point to wake up on Christmas morning at our own house just the two of us. We'll have breakfast, open stockings and gifts and then get a move on to one of our families for Christmas dinner.
  • One gift on Christmas Eve: My family always did this growing up and I loved this tradition. Typically the gift was new PJs and I may or may not be doing that this year ;-).
  • Decorating the day after Thanksgiving: Check! We couldn't have waiting a day longer anyway.
  • Christmas morning breakfast: Egg casserole, cinnamon roll monkey bread and cranberry Christmas mimosas.


To start off our traditions this year, I have ordered us new Christmas stockings from Garnet Hill. They should be arriving soon - I can't wait!


We picked up our Christmas tree and garland the day after Thanksgiving and immediately got to decorating. We've have a ton of little Christmas decorations we've acquired over the year, but unfortunately my wall hanging advent calendar was ruined during a party last year. Still searching for the perfect advent calendar to replace it. So here is the almost finished product.


We went for a 10ft tree this year after learning our lesson with a 15ft monstrosity a few years back

A few of my favorite ornaments. Top left is a Hogwart's ornament that my Aunt Lorraine and Uncle Michael gave us at the rehearsal dinner.


Kyle's mini-tree (~2.5 feet)


I've had those stockings since I was in college! My roommates and I would decorate our apartment for Chirstmas each year and we got these stockings for probably a dollar at Walmart. Our 'tree' was an inflatable palm tree decorated with beer cans and bras. Ha! Keeping it classy. Fair to say it was time for a stocking upgrade. 


The garland from my tutorial


I'm sure you're not surprised Harry Potter is on the TV


Notice the Quidditch Pitch from the Bridal Shower?


I think it's a moose, Kyle thinks it's a reindeer.


A craft project from a few years back.


Our Christmas morning mugs


The bouquet Kyle sent to celebrate the beginning of our first married Christmas


I've already done a majority of my Christmas shopping, but we can't accept deliveries at our apartment so I have packages shipped to my parents. I can't wait to pick them up when we're over there this weekend to celebrate my dad's birthday. A tree always looks better with wrapped presents underneath, don't you think?

Merry Christmas!

xo
Alison


Tuesday, December 3, 2013

DIY Christmas Garland

Last year I made a beautiful garland to go on our makeshift mantle (we don't have a fireplace so I painted a shelf from a craft store to hang our stockings) and I absolutely loved it.
Our Christmas Garland from 2012

Christmas mantle 2012


This year I thought I would do it again! Unfortunately, we picked up 30ft garland from Home Depot in the city and it was awful! So thin and falling apart. I decided to make the best of it anyway.

Here's a quick tutorial:

You will need real evergreen garland (whatever length you'd need), wire, wire cutters, fairy lights, cheap Christmas ornaments and beaded garland (if you'd like).

I didn't use all of the ornaments. 


I doubled up the garland (to 15ft total) to make it a bit fuller and wrapped a beaded garland and fairy lights around the entire length.

Don't mind the mess =)


I then laid out the ornaments at varying distances alternating sides.


Finally, I used the wire to tie the ornaments to the garland being sure not to tie around the entire width of garland (this would prevent the garland from looking full and hanging over the edge in places which tends to look really nice).


The final product!

Not as pretty as last year, but still a nice addition! 


This year I used the garland for our entertainment unit rather then the mantel. I'll eventually do a post with all of our Christmas decorations as it's my favorite holiday and I tend to go a little over the top. It deserves it's own post! =)

Happy decorating!

xo
Alison